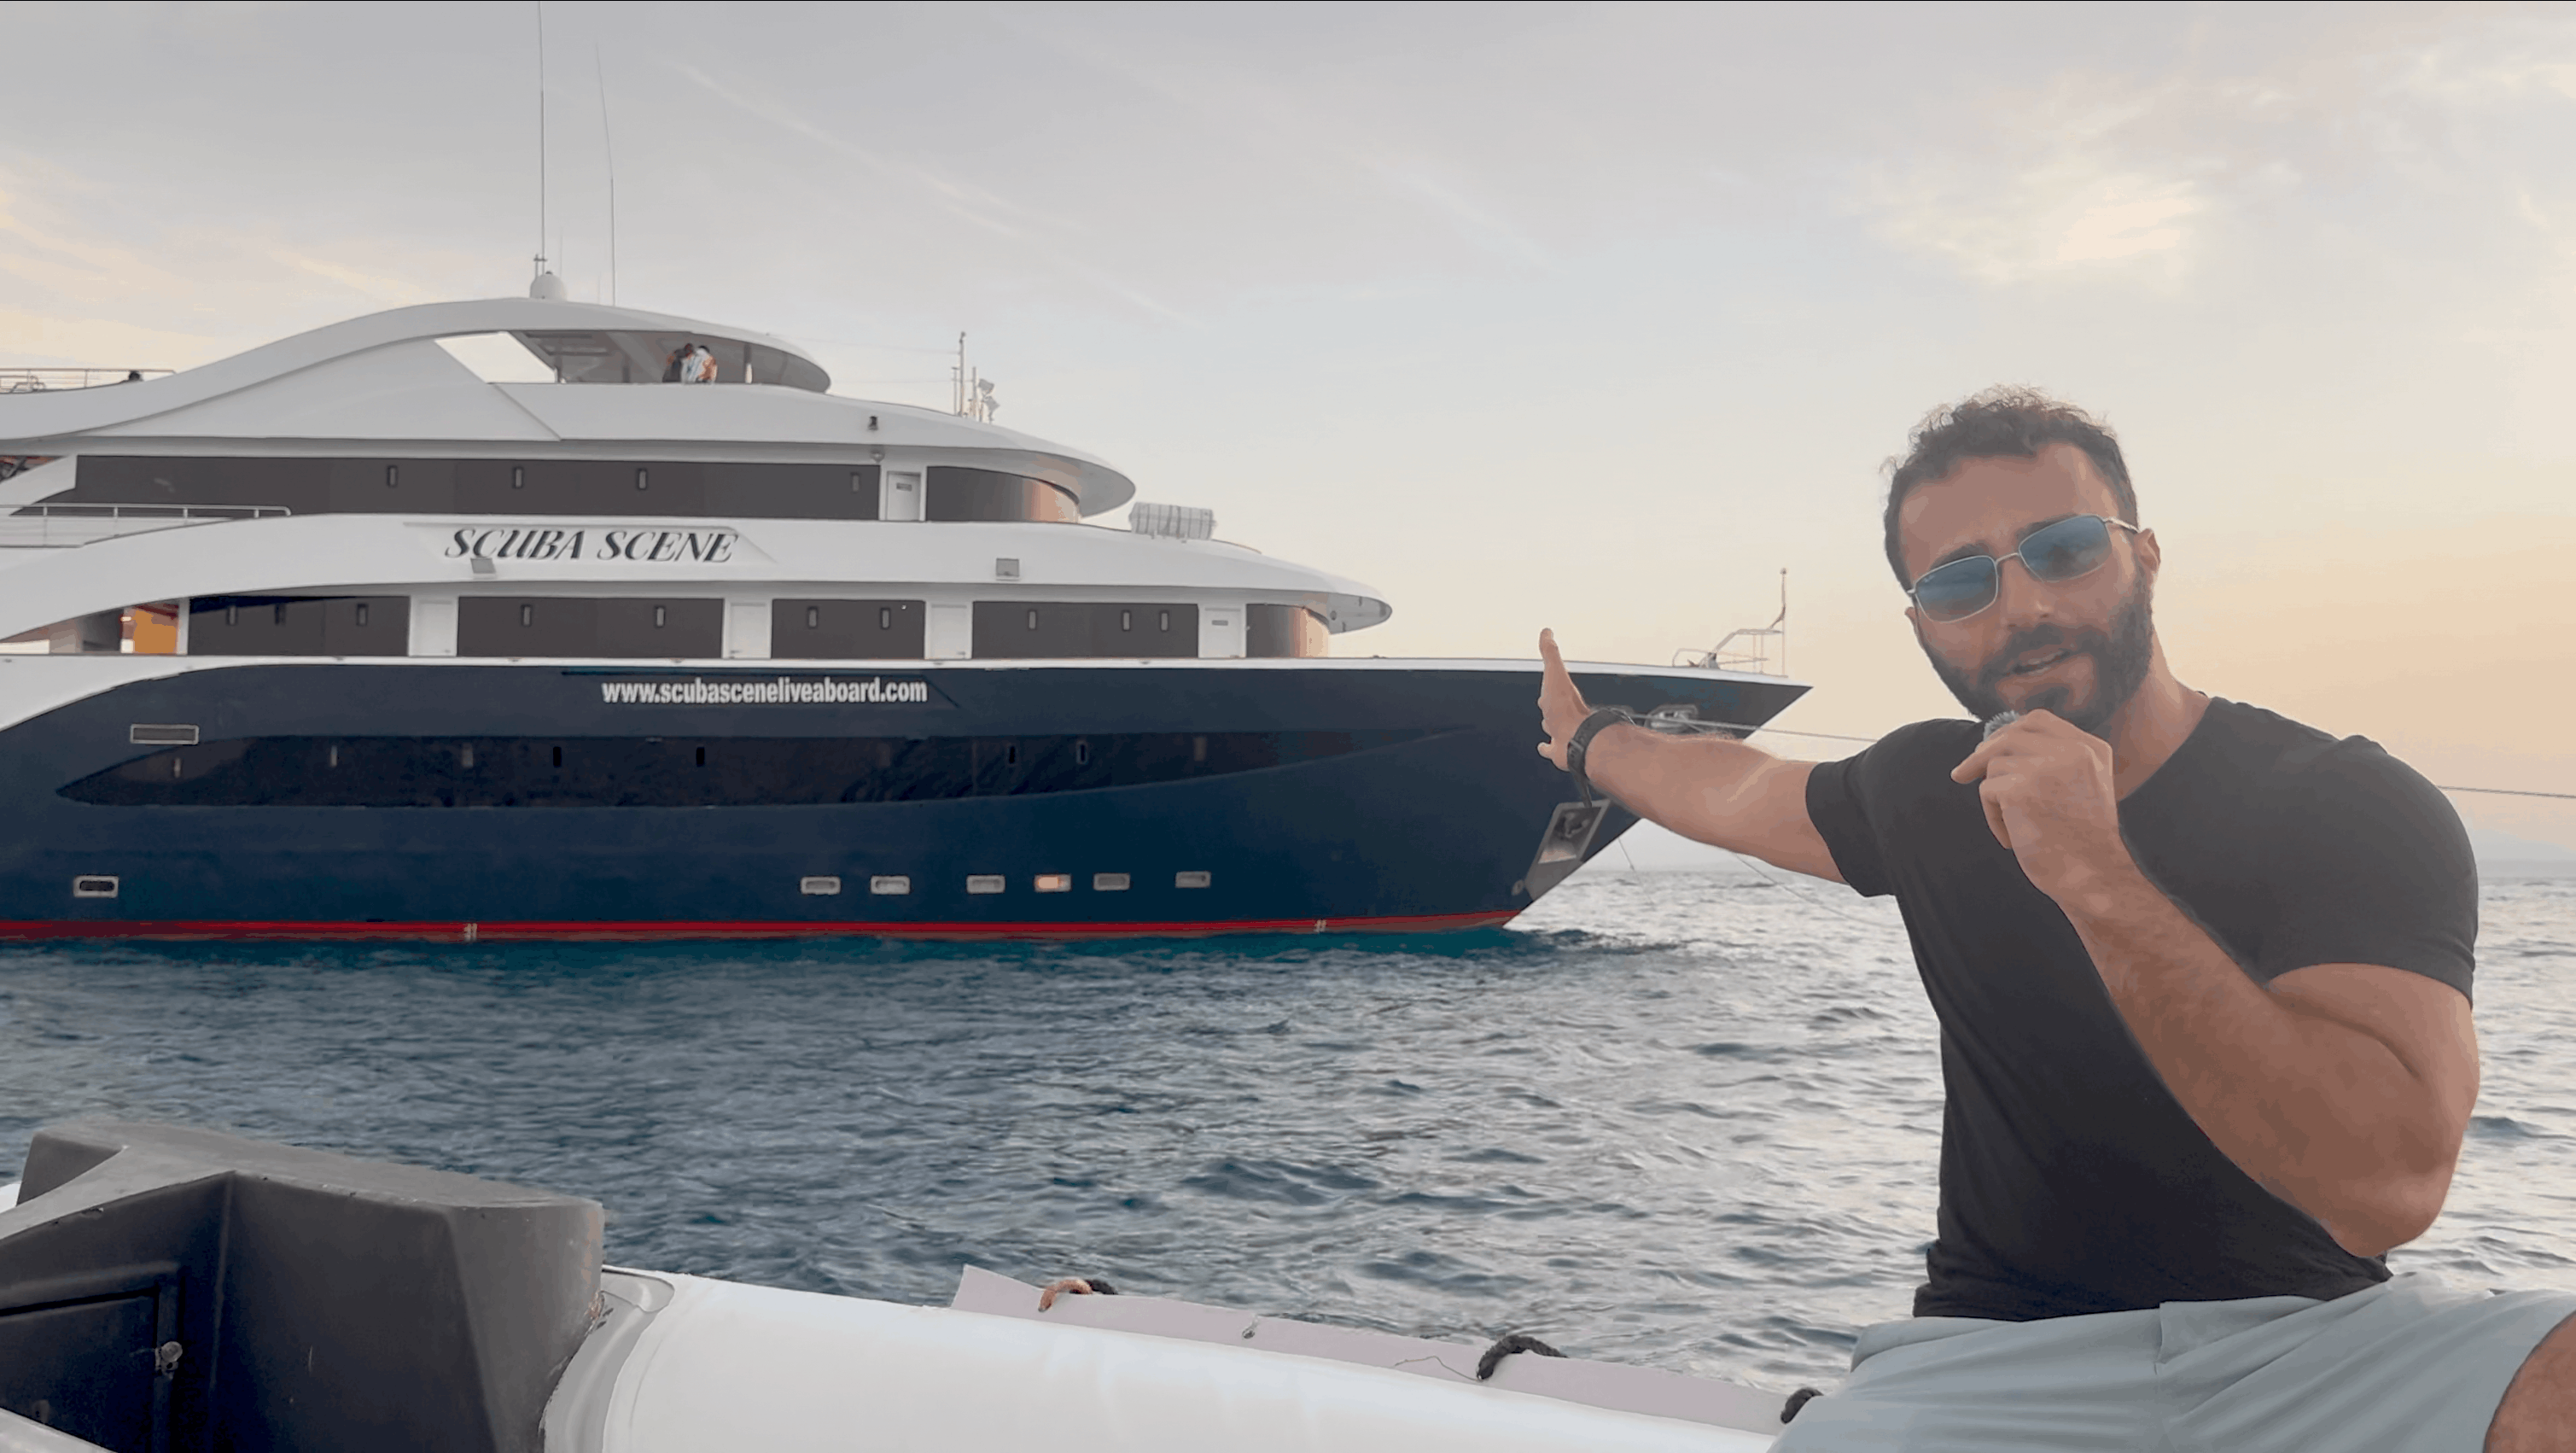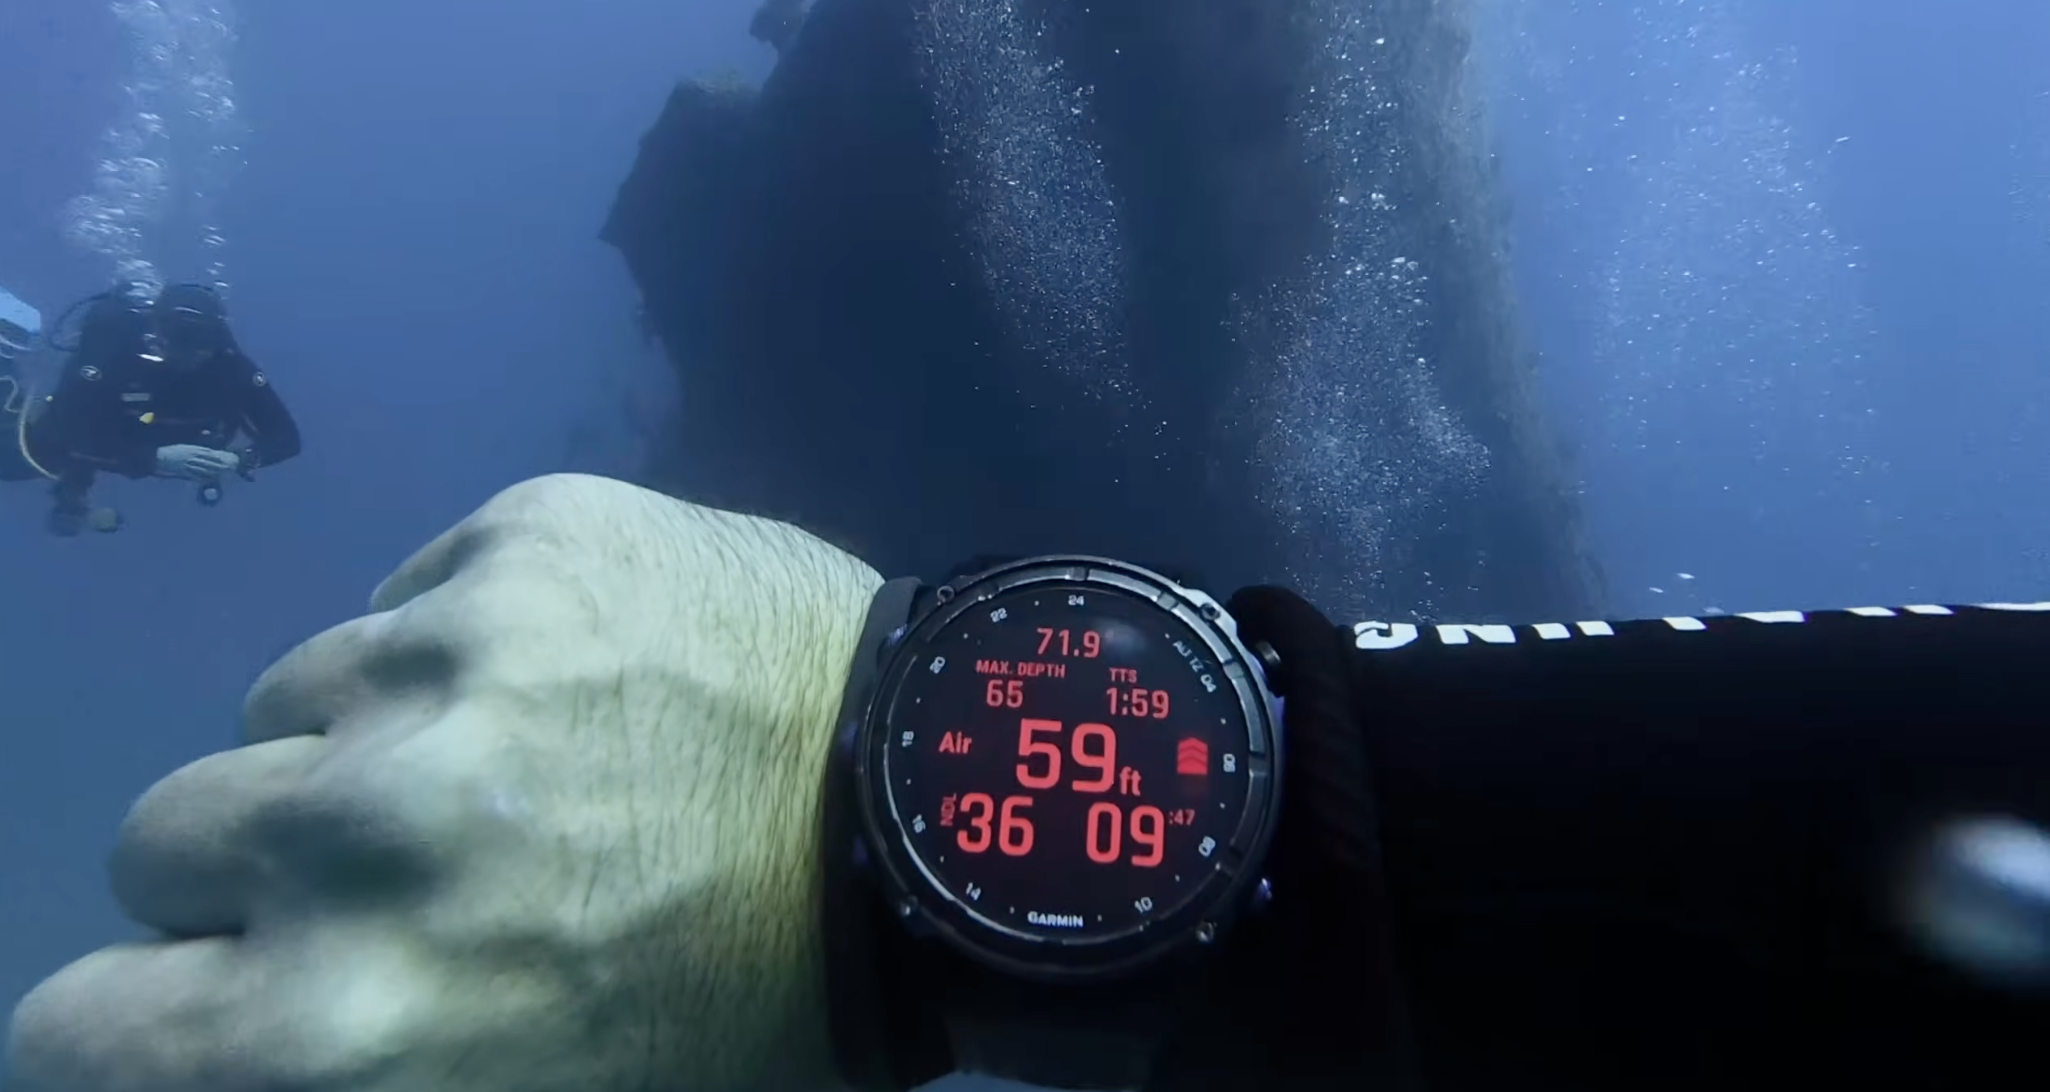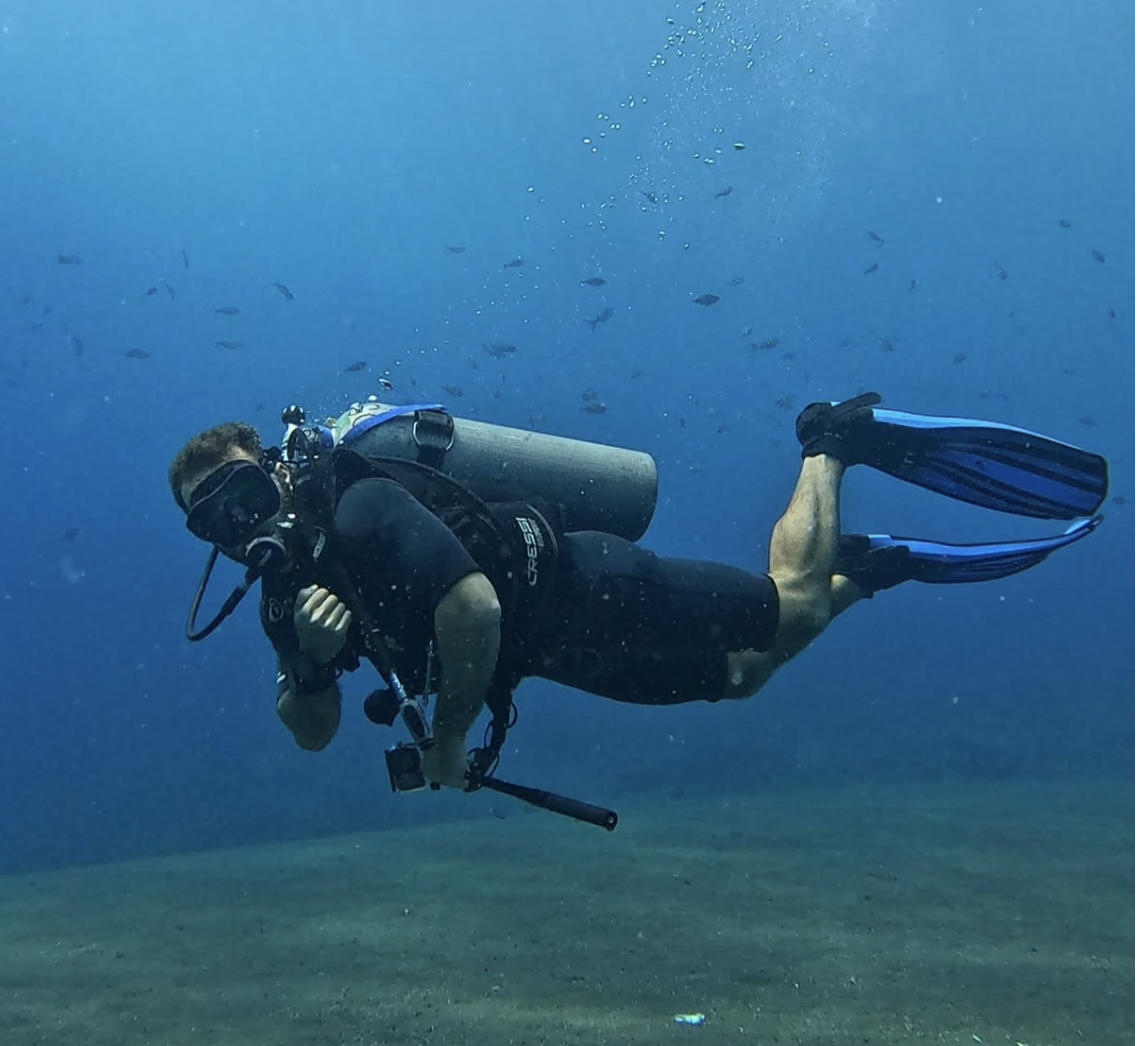


The comment I get the most across Instagram, TikTok and YouTube is "What camera do you use?"
It's the DJI Osmo Action 6.
In my opinion it's a relatively budget camera that's capable of producing some insane results right out of the box, and I think I've figured out how to get the most out of it.
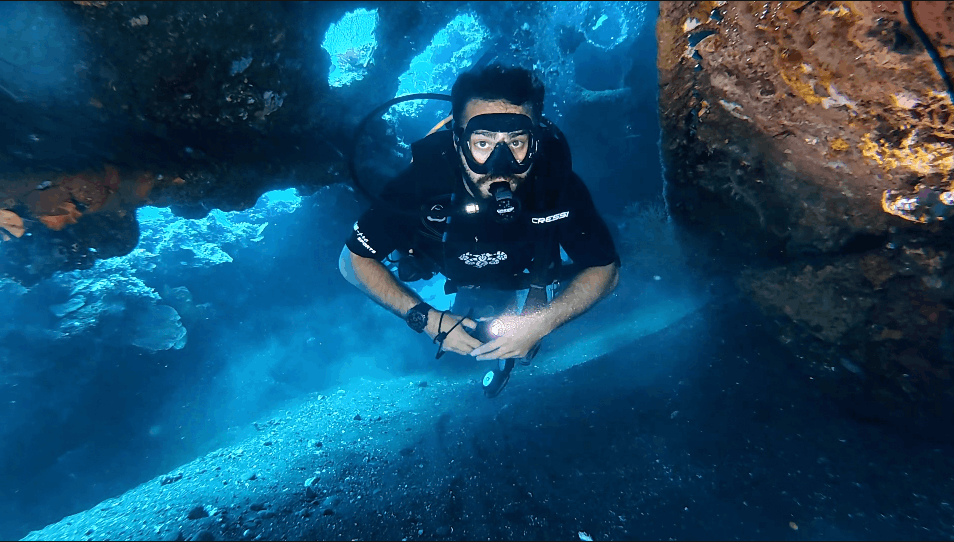
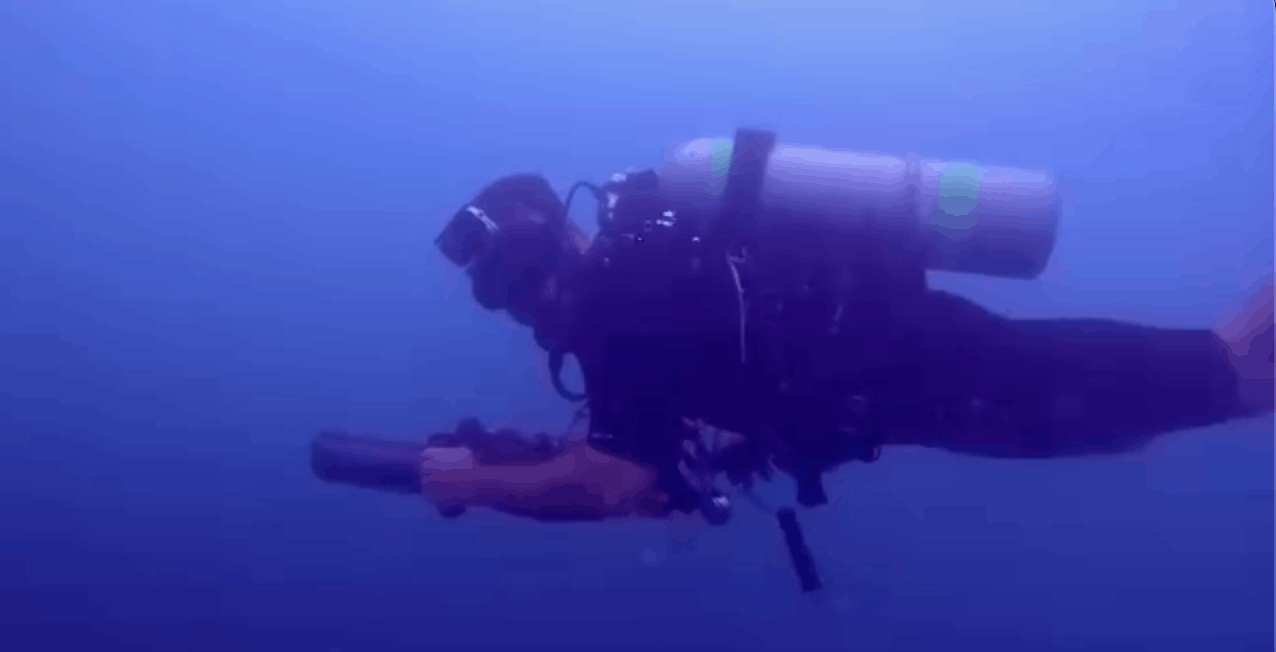
It's the camera used to shoot this.
In this article, I'll share the exact settings and presets I have configured on my camera, the accessories that let me shoot the type of footage I do, and my other thoughts on the camera after almost a year of using it.
I bought my Osmo Action 6 with my own money. DJI didn't sponsor this review or see it before it went up. If you buy through my links, I may earn a small commission at no cost to you.
Quick Specs
| Sensor | 1/1.1-inch CMOS |
| Video | Up to 8K at 30 fps, 4K up to 120 fps |
| Square 4K | 3840 x 3840, up to 60 fps |
| Photos | Up to 38 MP |
| Waterproof | 20 m (66 ft) on its own, 60 m (197 ft) in the Waterproof Case |
| Battery | 1950 mAh, rated up to 240 minutes |
| Storage | 64 GB built in, plus microSD up to 1 TB |
| Weight | 149 g |
Official DJI specs.
My Exact Settings and Presets
Out of the box, the DJI Osmo Action 6 needs a few changes to get the most out of your footage. It even ships set to 1080p instead of 4K.
I didn't figure these settings out myself. I followed Scott Bauer's tutorials on his YouTube channel, Scott Bauer Below, step by step. I can tell he knows his stuff, and I trust his results and his footage. All credit for these settings goes to him, so go watch his videos:
Here's his setup, preset by preset.
Before You Make Any Presets

- Bitrate: swipe down, tap the gear icon and switch bitrate from Standard to High
- Depth display: in the same menu you can turn on depth and altitude. Scott points out it isn't very accurate, so always go by your dive computer.
Preset 1: Main, for Bright Conditions
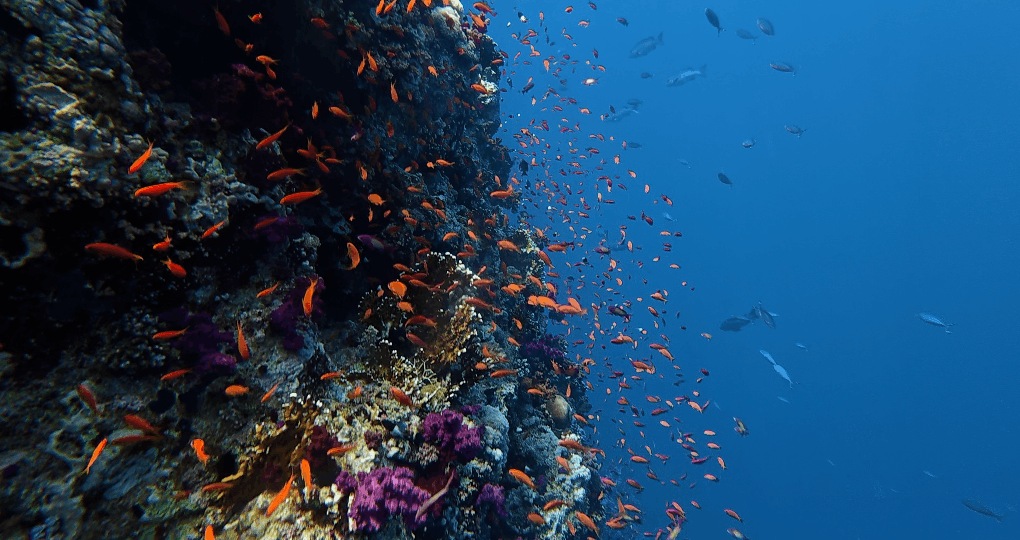
- Aspect ratio: Custom. This shoots open gate, the square 4K I film everything in.
- Frame rate: 60 fps
- Stabilization: RockSteady
- Lens: Wide. Scott finds it the most natural looking underwater.
- Mode: Pro, with exposure on Auto
- EV: -1, so highlights don't blow out
- ISO: 100 to 800. In his later video Scott suggests 100 to 3,200 for overcast or deeper dives.
- White balance: Auto
- Color: Normal 10-bit
- Aperture: fixed at f/4
- Texture: 0
- Noise reduction: -1
Preset 2: Low Light and Night Dives
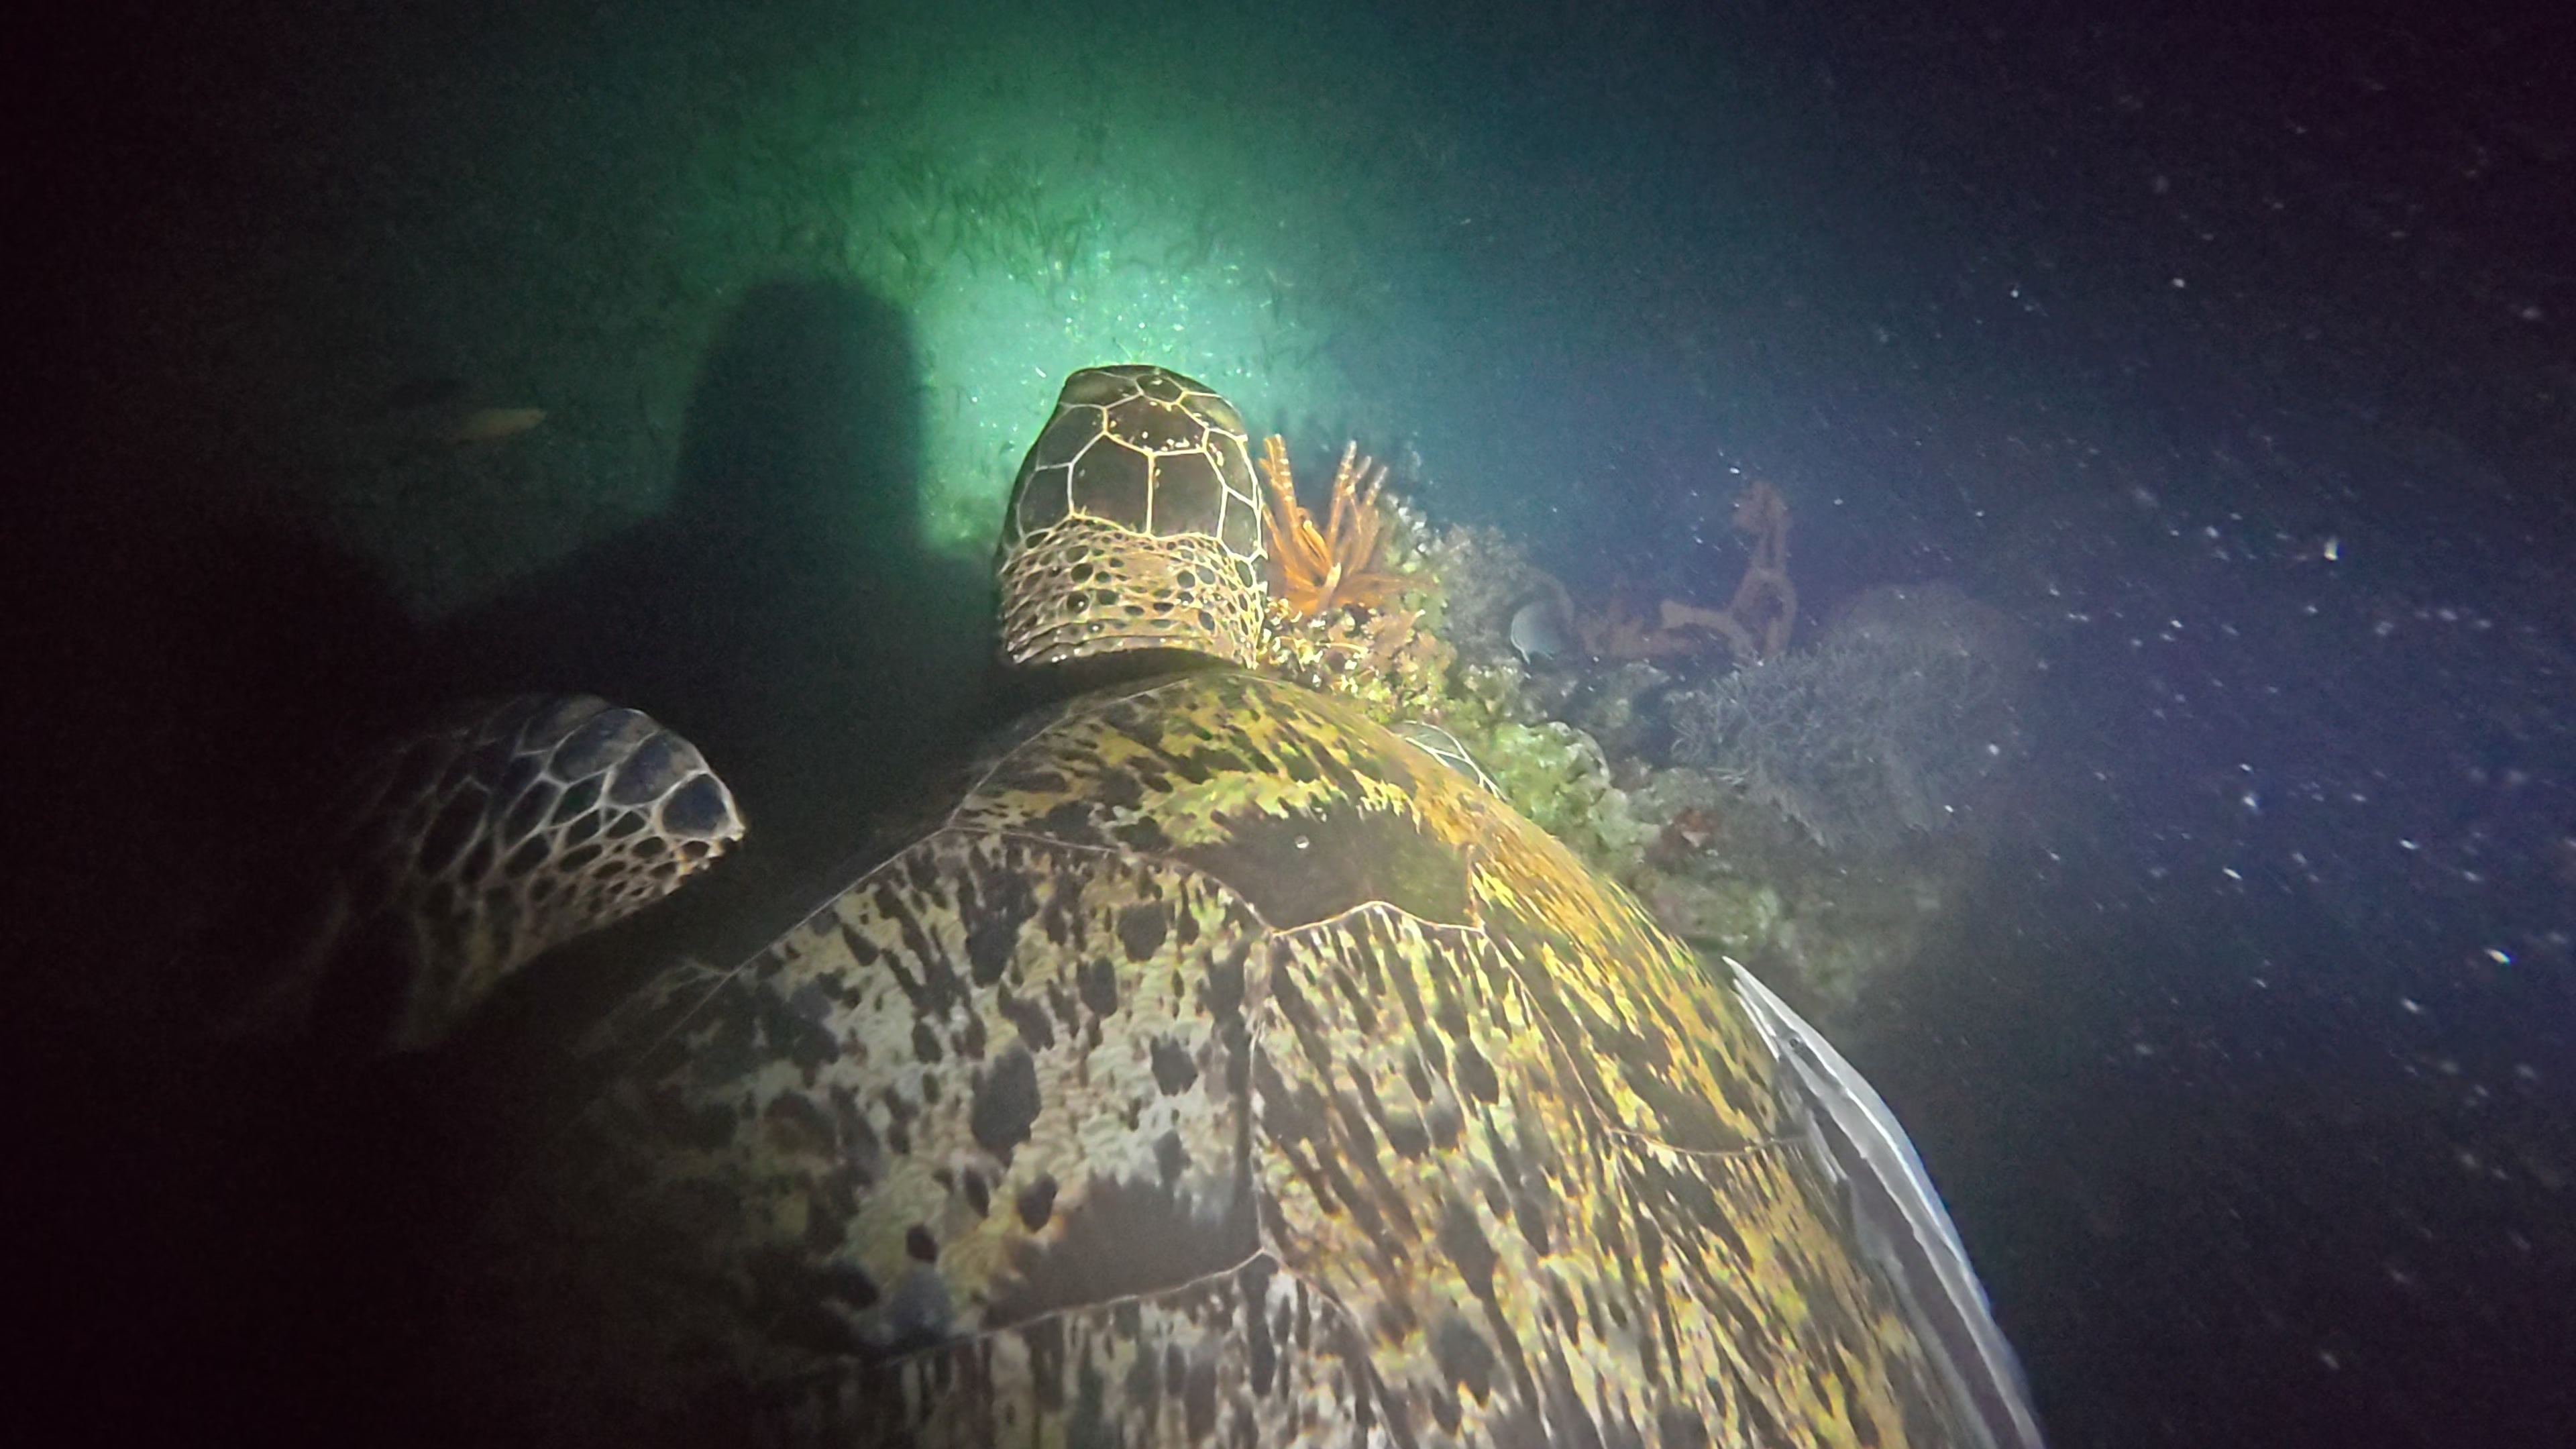
- Aspect ratio: Custom (open gate), 4K at 60 fps. This is the one place I changed Scott's setup. He uses 30 fps here, but I tried both, and 30 fps just doesn't look good on Reels or YouTube videos.
- Stabilization: RockSteady, lens on Wide
- Exposure: Manual. Scott sets the shutter to 1/120 at 30 fps, breaking the usual shutter rule on purpose, because RockSteady jitters in low light at slower shutter speeds.
- ISO: 100 to 25,600, or 100 to 12,800 if you have a lot of artificial light
- White balance: Auto
- Color: Normal 10-bit
- Aperture: fixed at f/2.6 to let in the most light
- Texture: 0
- Noise reduction: +1
Preset 3: 2x Zoom

Since DJI's December 2025 firmware update, the camera can zoom 2x and still record in 4K. The zoom button is on the touchscreen, which you can't use underwater.
Scott's workaround: duplicate your main preset, turn on 2x zoom in the copy, and don't save the zoom into it. You end up with two presets you can cycle between with the side button underwater, one at 1x and one at 2x.
Switching Presets Underwater

Short press the side button to cycle through your presets. In the QS menu you can hide the presets you don't use, so you only cycle through your own.
I mostly do this on dives with different lighting environments. For example, penetrating a shipwreck, entering a sea cave or tunnel, or any other low-light environment that switches up on me during a dive.
60 Frames Per Second
60 frames per second keeps the footage smooth while I'm swimming, and gives me room to slow it down.
The Accessories I Use
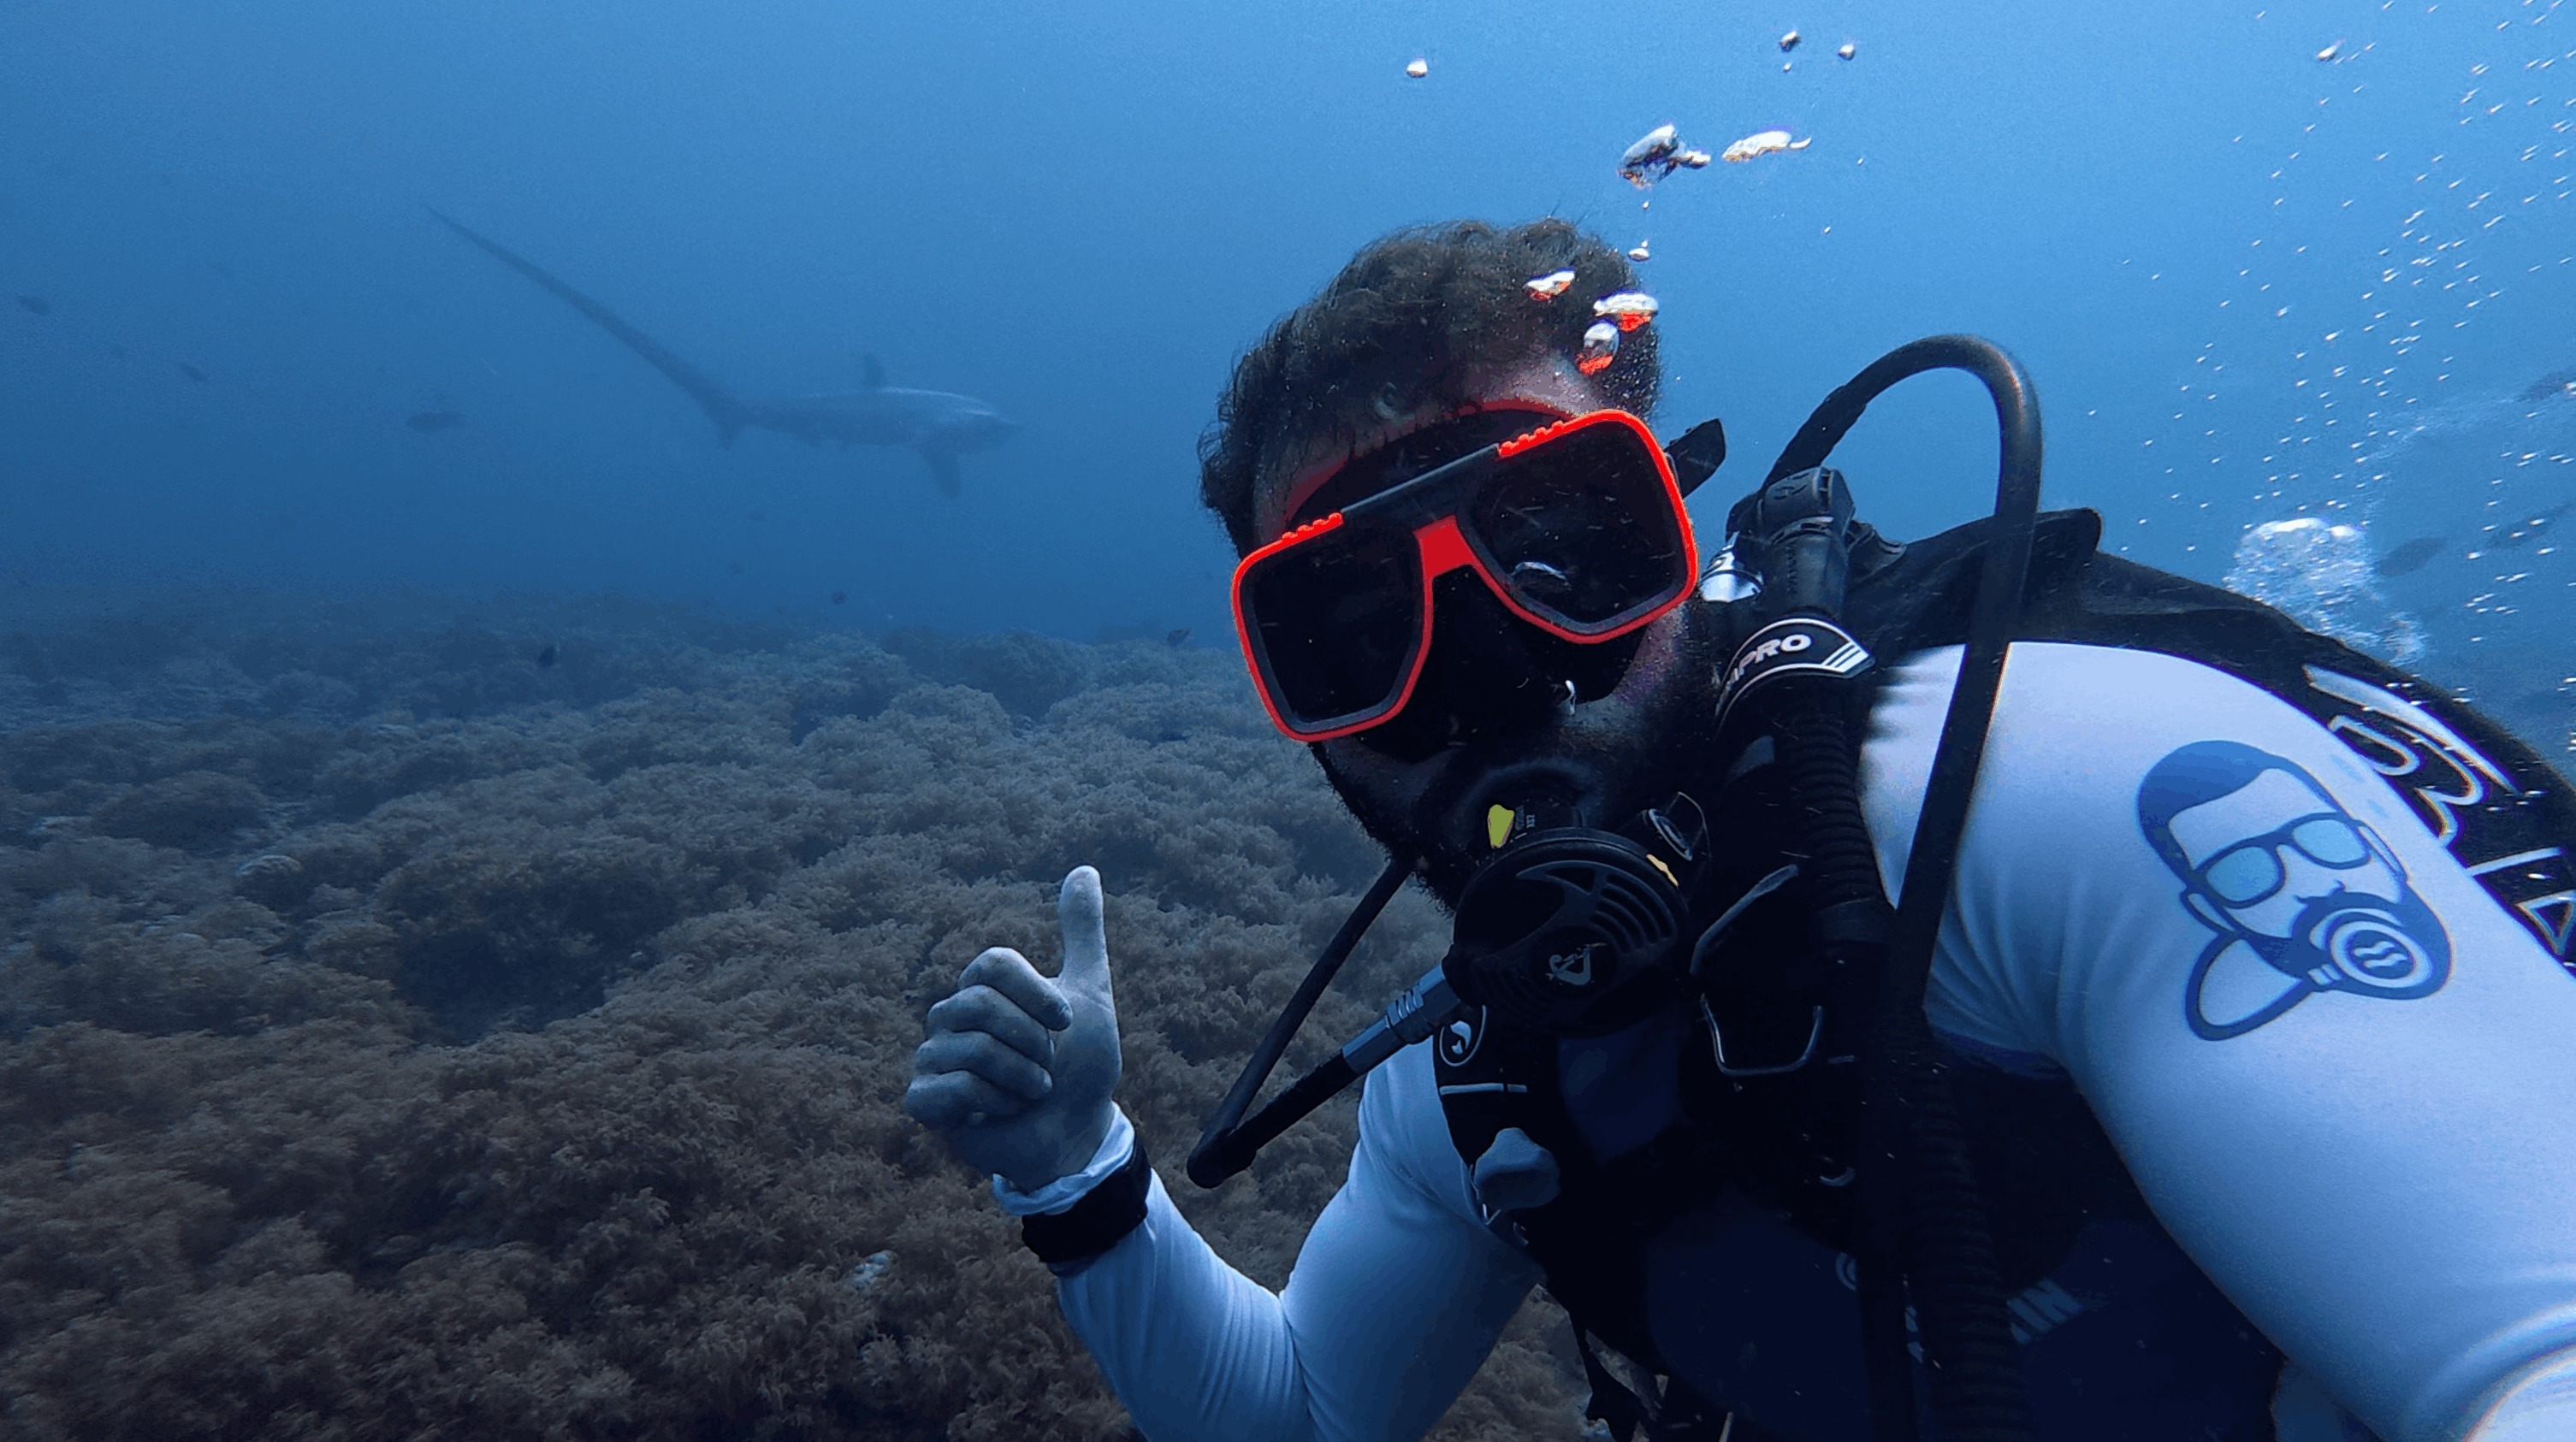
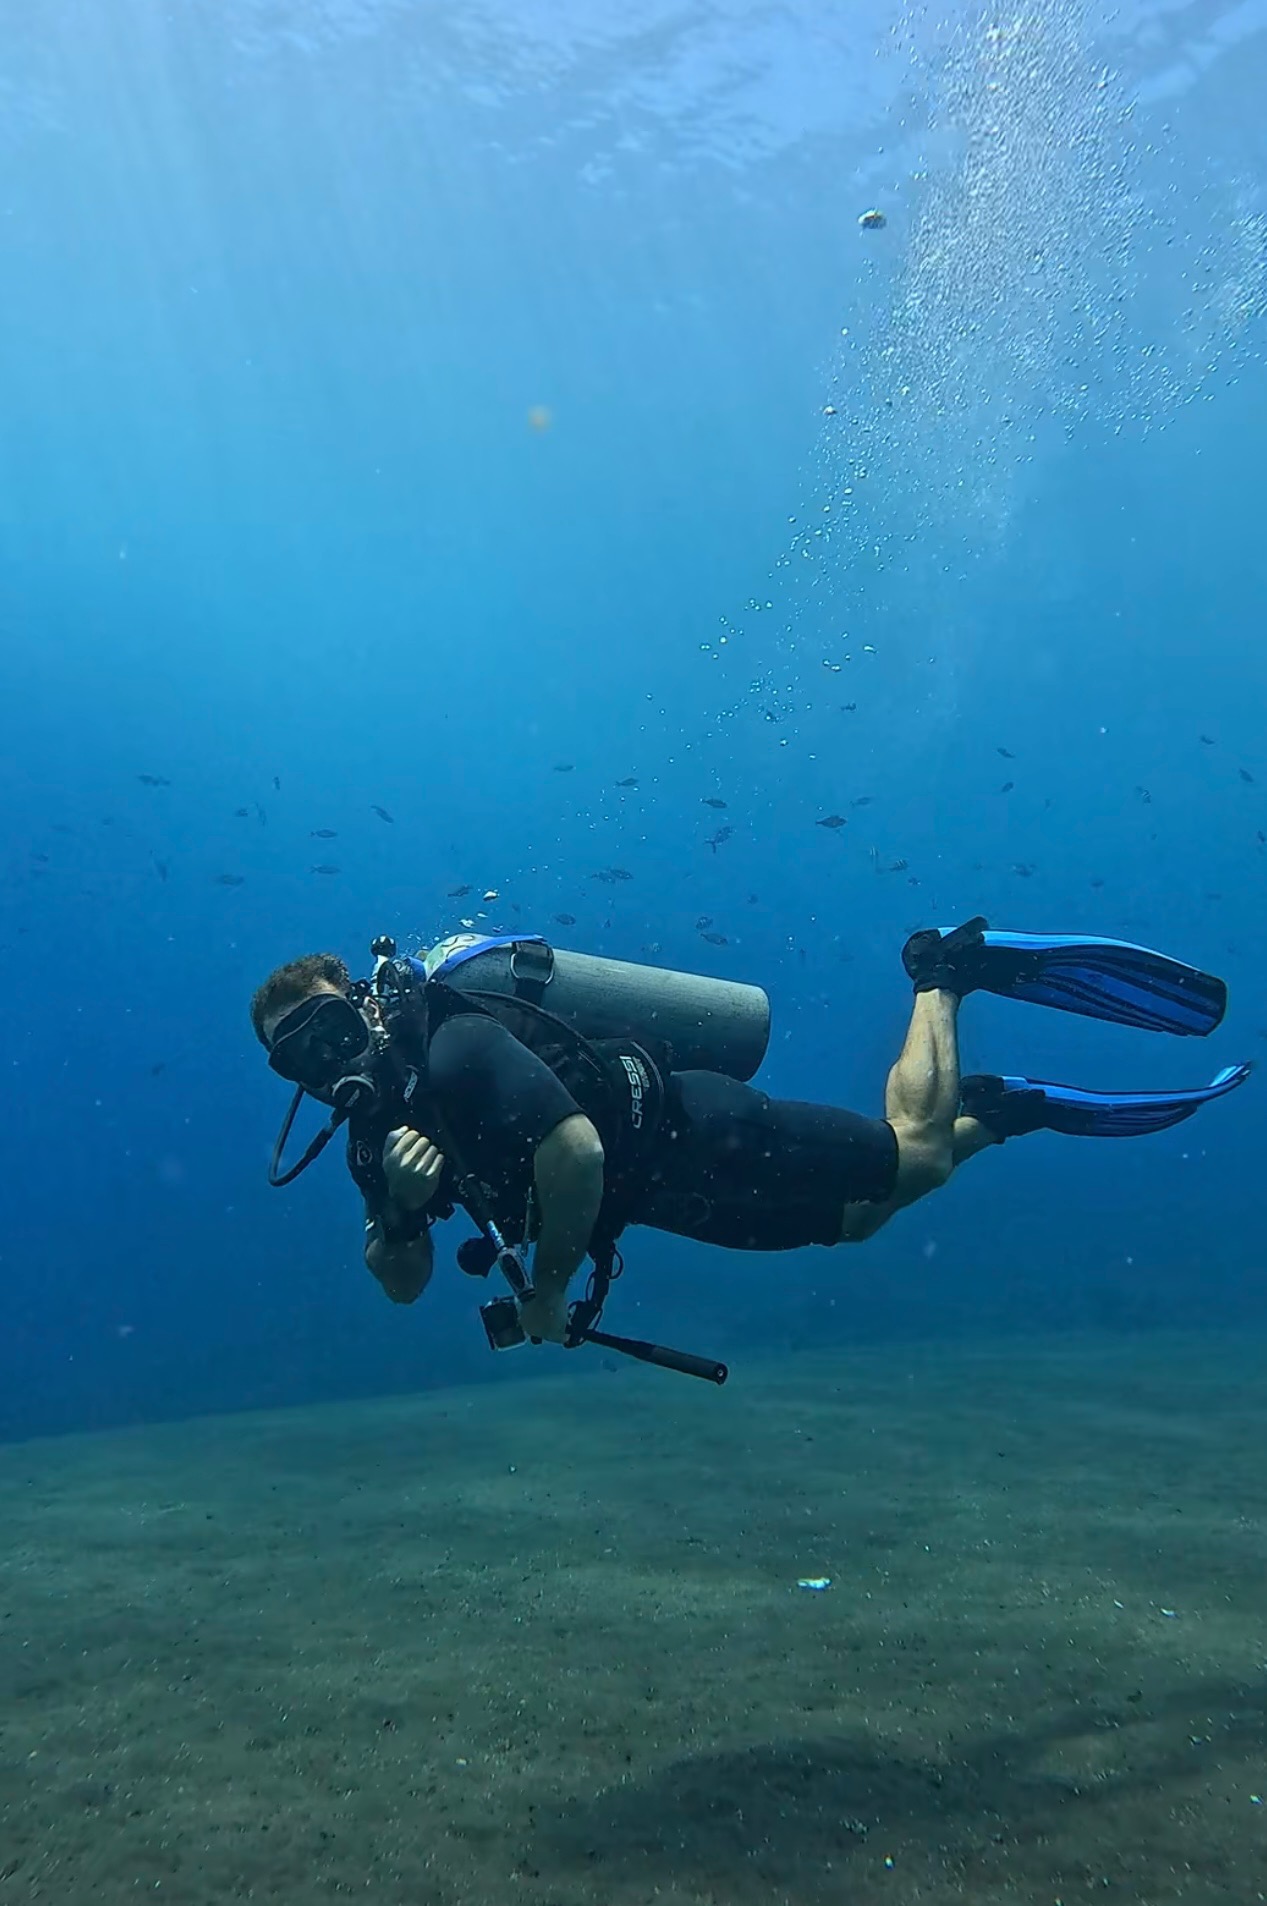
My setup is pretty lightweight and simple: the camera in its underwater housing, an extendable pole, and a DJI Mic 3 for topside audio.
Why I Switched From a Head Mount to an Extended Pole
When I started, I used a head mount, and I found my footage got really shaky.
This video will be an example.
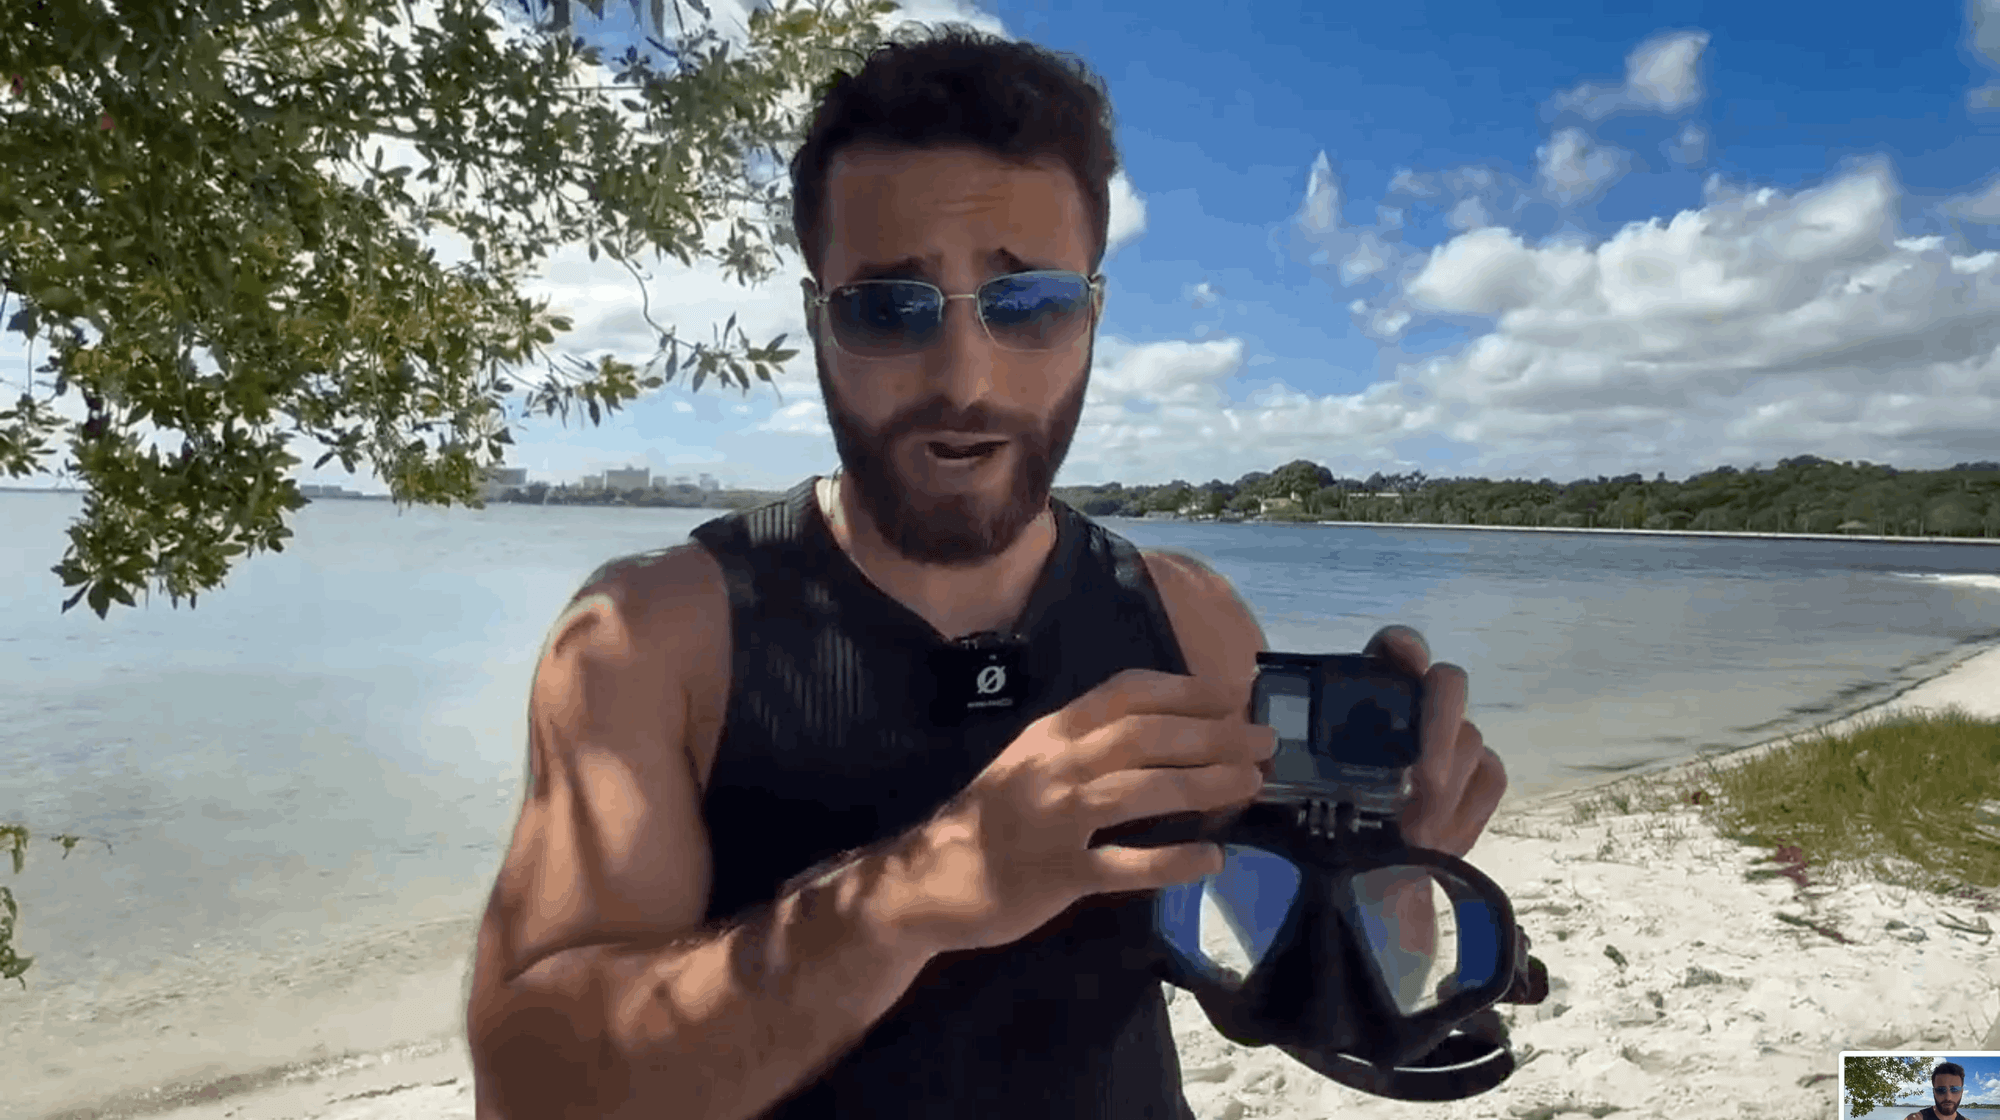
The Osmo Action 6 in its underwater housing screws into the GoPro mount on my mask, the Hammerhead MV3 Action. Unless I'm spearfishing or doing something that requires my hands, I'll almost always pick the extendable stick instead.
The Extended Pole

My camera is connected to an extended pole, which gives you different points of view.
- It lets you get closer to marine life you might want to keep your distance from.
- You can flip the camera around to face you for POV and selfie shots, so one setup does both.
- The camera can reach into holes and cavities that a head mount wouldn't allow.
Scooter Mount: The LeFeet P1

My LeFeet P1 scooter has a built-in GoPro rail on the front, and my idea was that a fixed mount would give me more stable footage than a head mount that shifts constantly throughout a dive.
I was somewhat right.
It's a fantastic camera mount when the motor is running. When moving through the water, the footage is smooth and the scooter is light enough to angle shots with your hands.
The problem is when you disengage the thruster and aren't propping the scooter up with your strength. Shots can be completely ruined, as the camera drops along with the scooter.
Now, where I mount my camera depends on the dive: how much I need my hands free, how long the scooter will be running, and what I'm trying to capture.
If you want one, use code DMAUSTIN for 8% off the LeFeet P1.
DJI Mic 3
I use a DJI Mic 3 for my audio, and it connects straight to the Osmo Action 6 even when the camera is inside its housing. That's how I record clean audio talking on the boat or the beach before a dive.
It clips under my shirt with a magnet. It can't be used underwater.
What I Like Most: Vertical and Horizontal at the Same Time
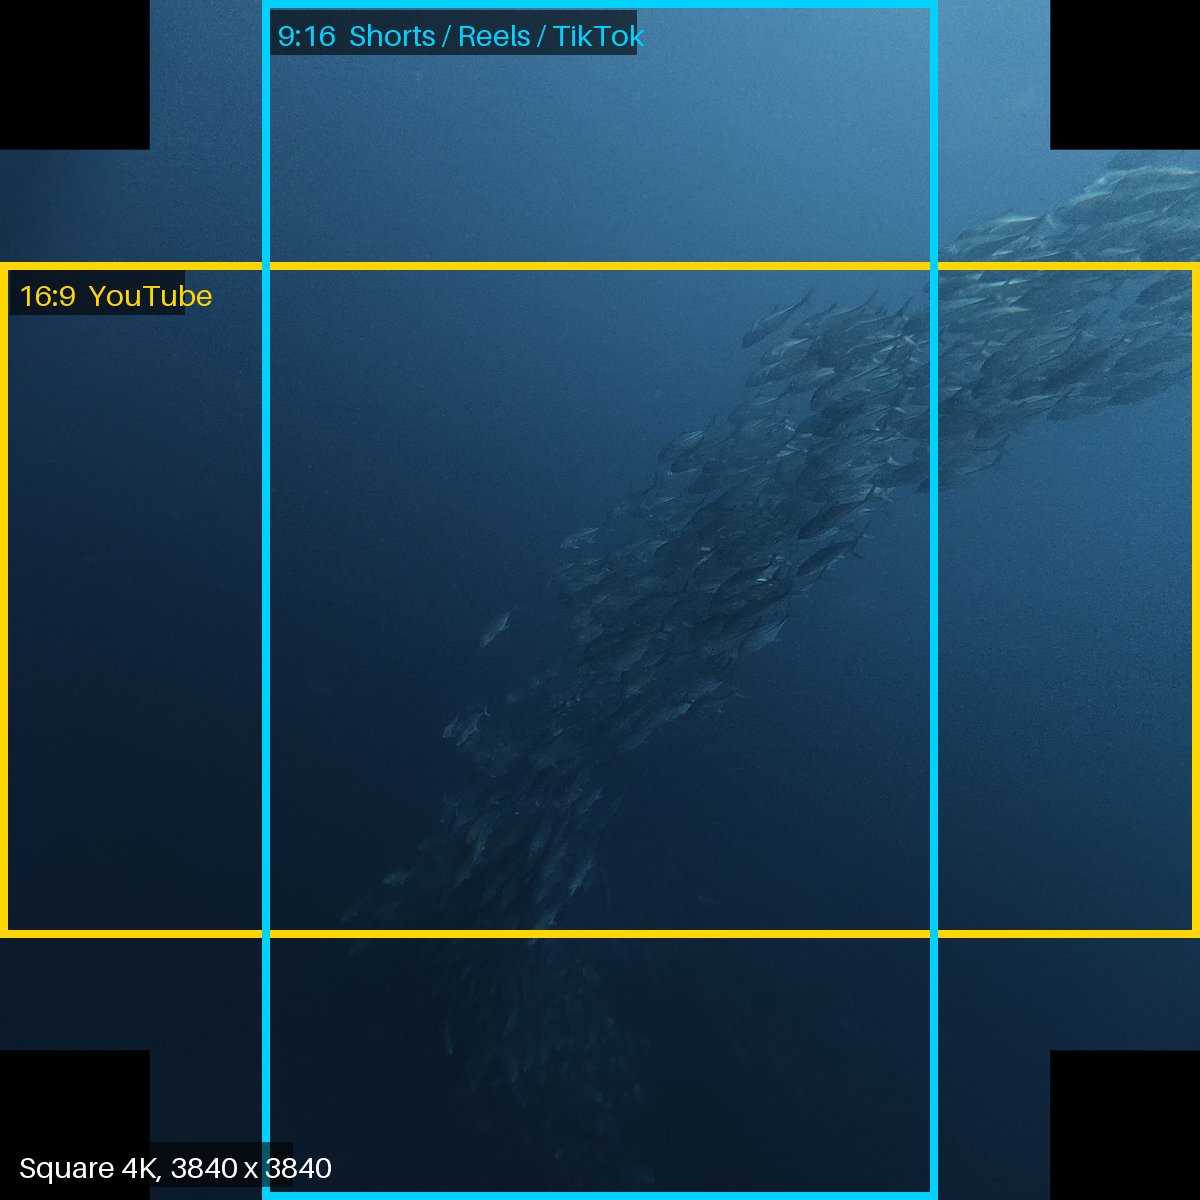
My favorite feature is being able to shoot vertical and horizontal at the same time. As a content creator trying to post on every platform, this is huge.
I shoot square 4K (3840 by 3840), the open gate setting from Scott's main preset. The same clip becomes a horizontal shot for YouTube and a vertical shot for Shorts, Reels and TikTok, so I never have to film anything twice or pick a platform before I hit record.
Out of the box the camera is set to 1080p, not 4K, so change that first.
The trade-off is file size. At high frame rates the files get large: my square 4K 60 clips run about 1 GB per minute, so a 30 second clip is almost half a gigabyte, and the raw clips from my September and October diving in the Philippines take up over 300 GB.
Batteries and Fogging: The Hardest Lesson I Learned
Batteries definitely become an issue on days where you're shooting multiple dives.
The obvious fix is to swap batteries between dives, but that means opening the housing, and that's where the second problem comes in. Open the housing between dives and you can run into it fogging up.
This is one of the hardest lessons I learned early on using the camera, and it lost me some really good footage.
It's really smart to limit your camera use underwater, so you don't have to open the housing between dives.
Given enough time and the right tools, you can solve this.
DJI Anti-Fog Inserts
DJI makes small moisture strips, called anti-fog inserts, that sit inside the housing next to the camera. They severely reduce fogging.
- DJI's Waterproof Case for the Osmo Action 6 comes with 6 pairs, and so does the Osmo Action 6 Diving Accessory Kit.
- Put one in before you seal the housing.
- Swap in a fresh one once you start seeing fog on the inside of the glass.
- When you run out, you can restock with a 24-pack of reusable anti-fog inserts.
Things I Don't Like

- Large files at high frame rates. Square 4K 60 runs about 1 GB per minute, so you'll want big memory cards and a plan for storage.
- Battery life on multi-dive days, which pushes you to open the housing and risk it fogging up.
Who It's For
- Divers who want insane results out of a relatively budget camera.
- Content creators posting to Instagram, TikTok and YouTube, since one square clip covers both vertical and horizontal.
- Anyone willing to spend a few minutes on setup. Out of the box it needs a few changes, and Scott Bauer's presets above are the fastest way to get there.
Conclusion
The DJI Osmo Action 6 is the answer to the question I get asked most. In my opinion it's a relatively budget camera that's capable of producing some insane results right out of the box.
Shoot square 4K so one clip works on every platform, set it up with Scott Bauer's presets, put it on a pole instead of your head, and keep the housing closed between dives.
If this helped you decide, checking the price through my link costs you nothing and means a lot.
Buy the DJI Osmo Action 6 →Is the DJI Osmo Action 6 waterproof for scuba diving?
It's rated to 20 m (66 ft) on its own and 60 m (197 ft) in DJI's Waterproof Case, so for most recreational dives you need the case.
What settings do you use underwater?
I use Scott Bauer's underwater settings: square 4K (open gate) at 60 fps, RockSteady, Wide lens, auto exposure at -1 EV, auto white balance, Normal 10-bit color and f/4, plus a separate low light preset for night dives.
Can you film vertical and horizontal at the same time?
Shoot square 4K. One clip can be cropped to horizontal for YouTube and vertical for Shorts and Reels.
ABOUT THE AUTHOR
Austin Tuwiner
Hey I'm Austin, a PADI Divemaster based in South Florida .
I initially got certified at 16 at a scuba camp in Kona, Hawaii, did my Advanced Open Water on Koh Tao, my deep and nitrox on Gili Trawangan, and my Rescue and Divemaster in Miami.
Since then I've logged 500+ dives across 20 countries and states. I write about the gear I dive with, the sites I've dived, and the trips I've taken.


Let's Dive Together
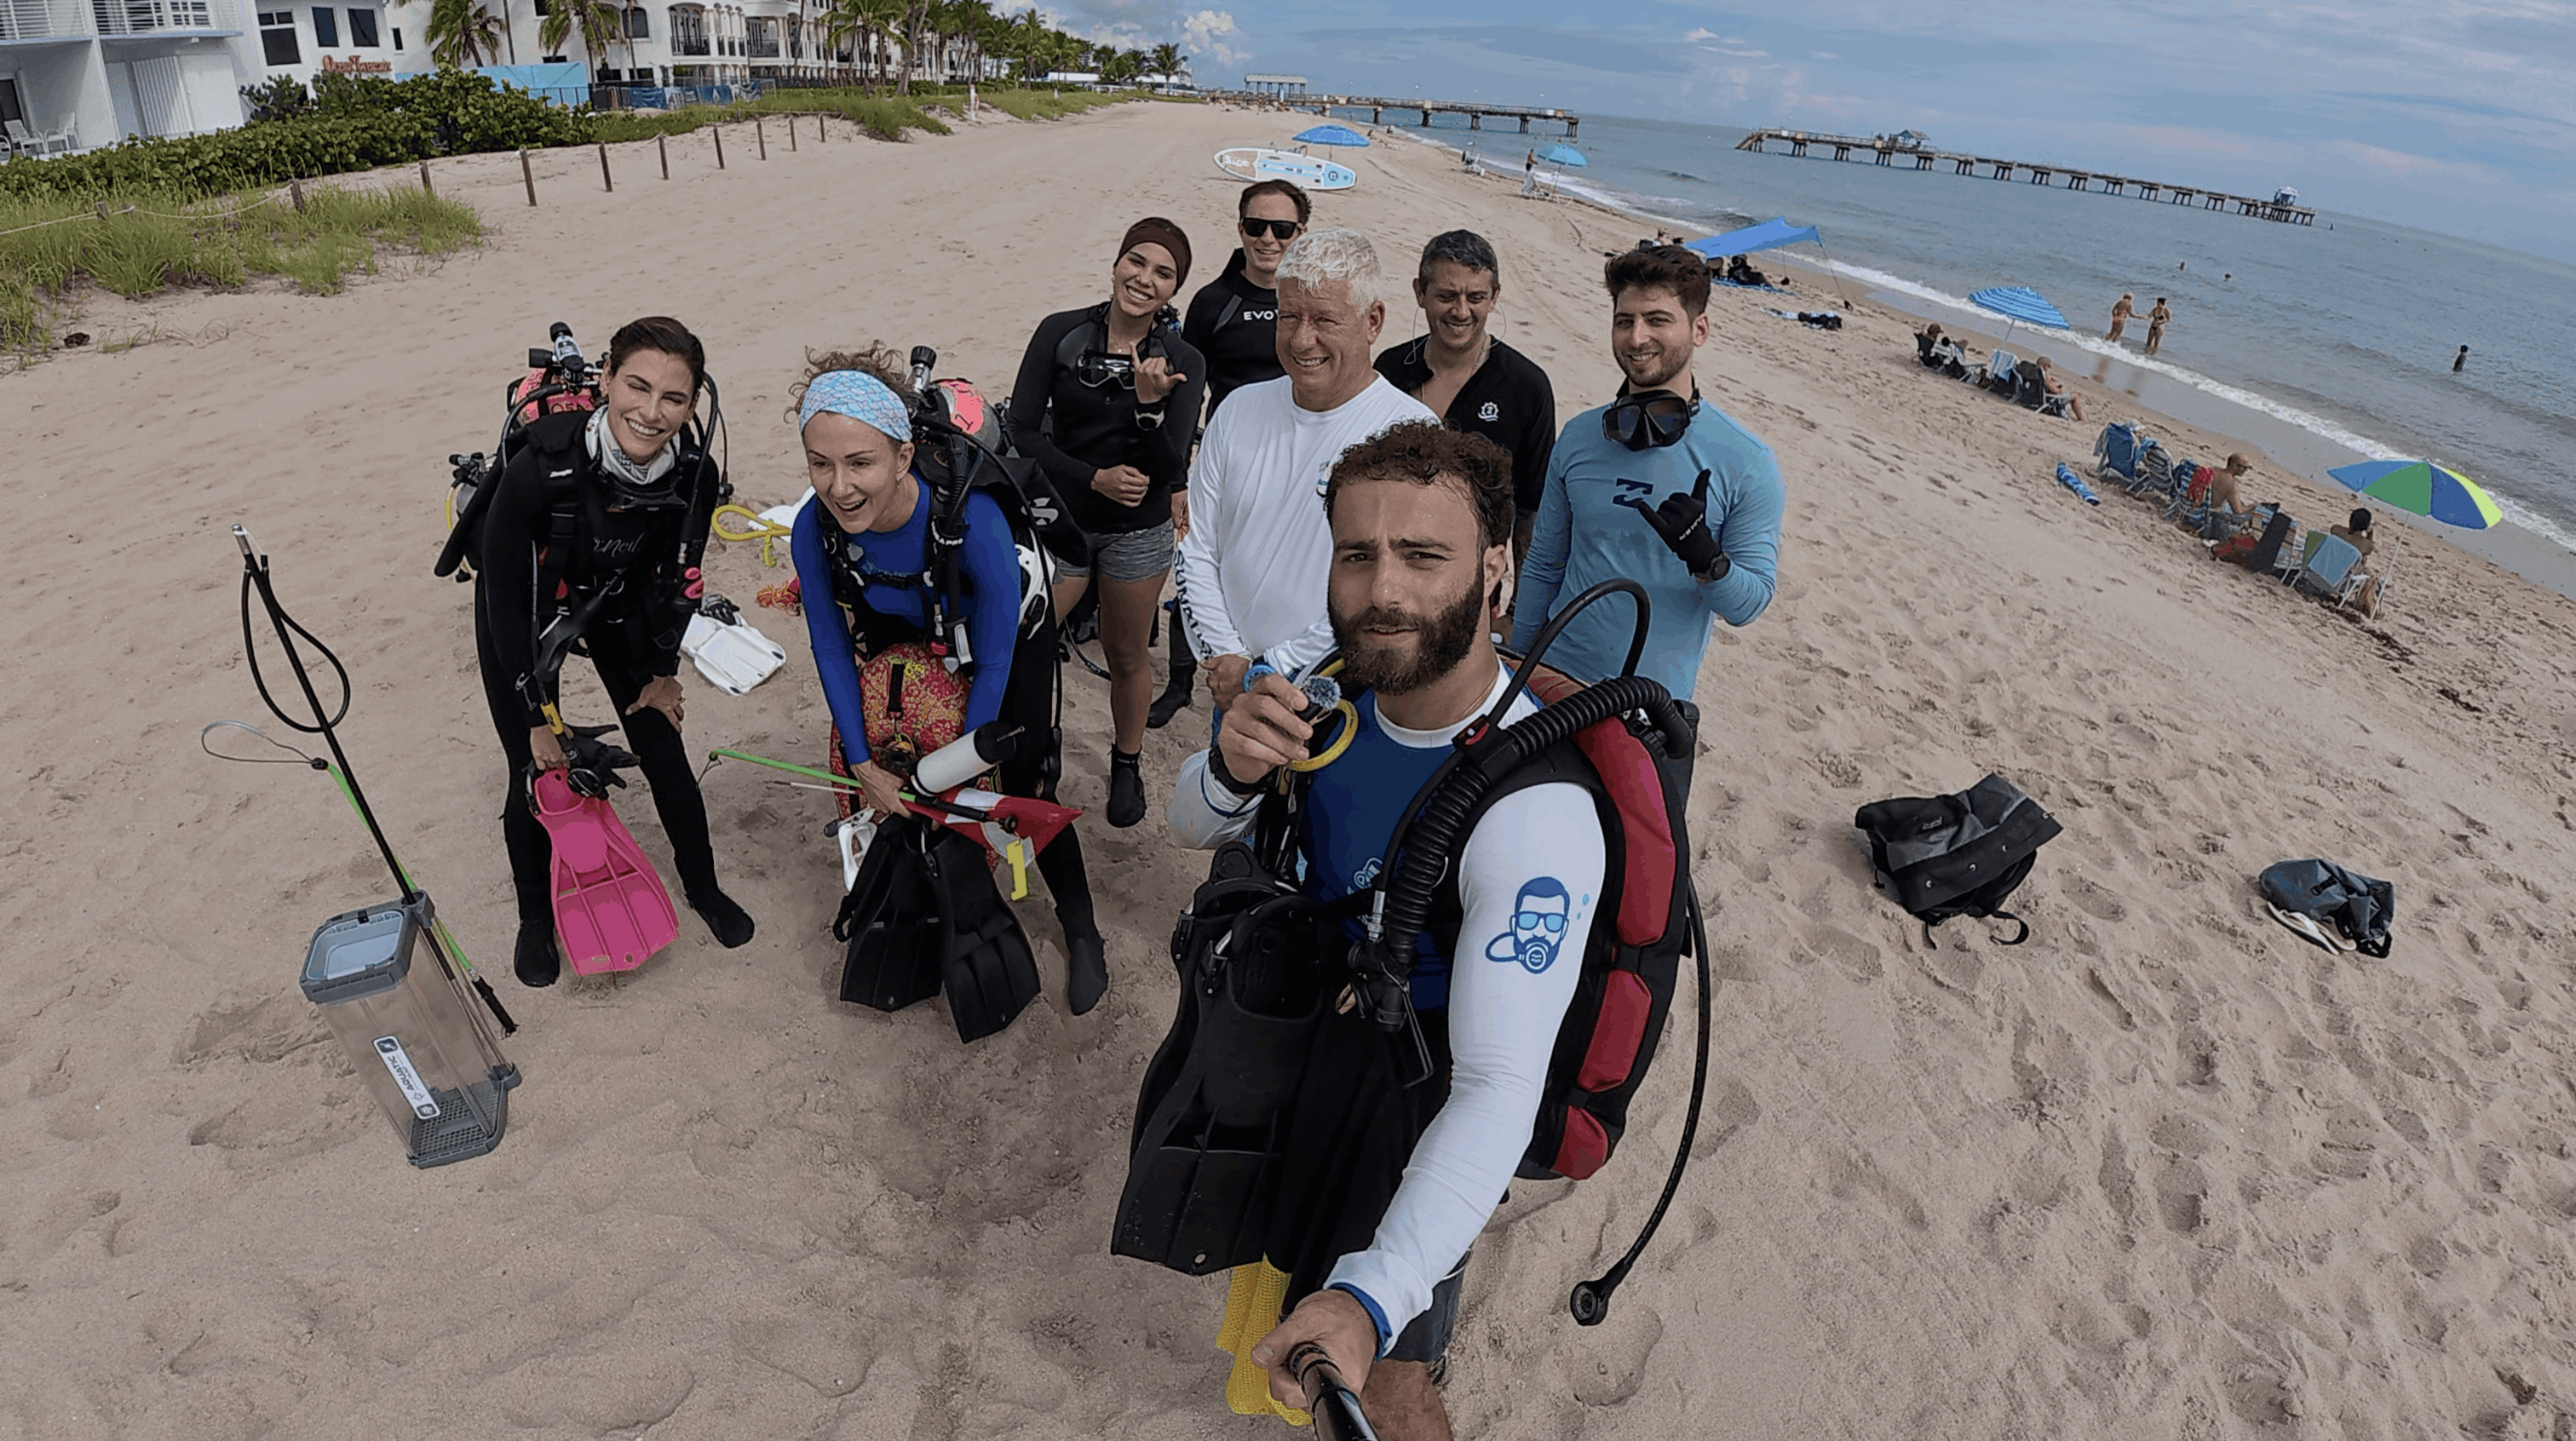
👋 It's Divemaster Austin
I'm inviting you to Dive Club, my global scuba diving community.
What you’ll find inside:
🤿 Dive meetups & group trips
🌍 Top dive sites shared by community members
⚙️ Gear tips & technique discussions
🤝 Diver's who’ve already linked up IRL
See you there!
Join my scuba diving community.
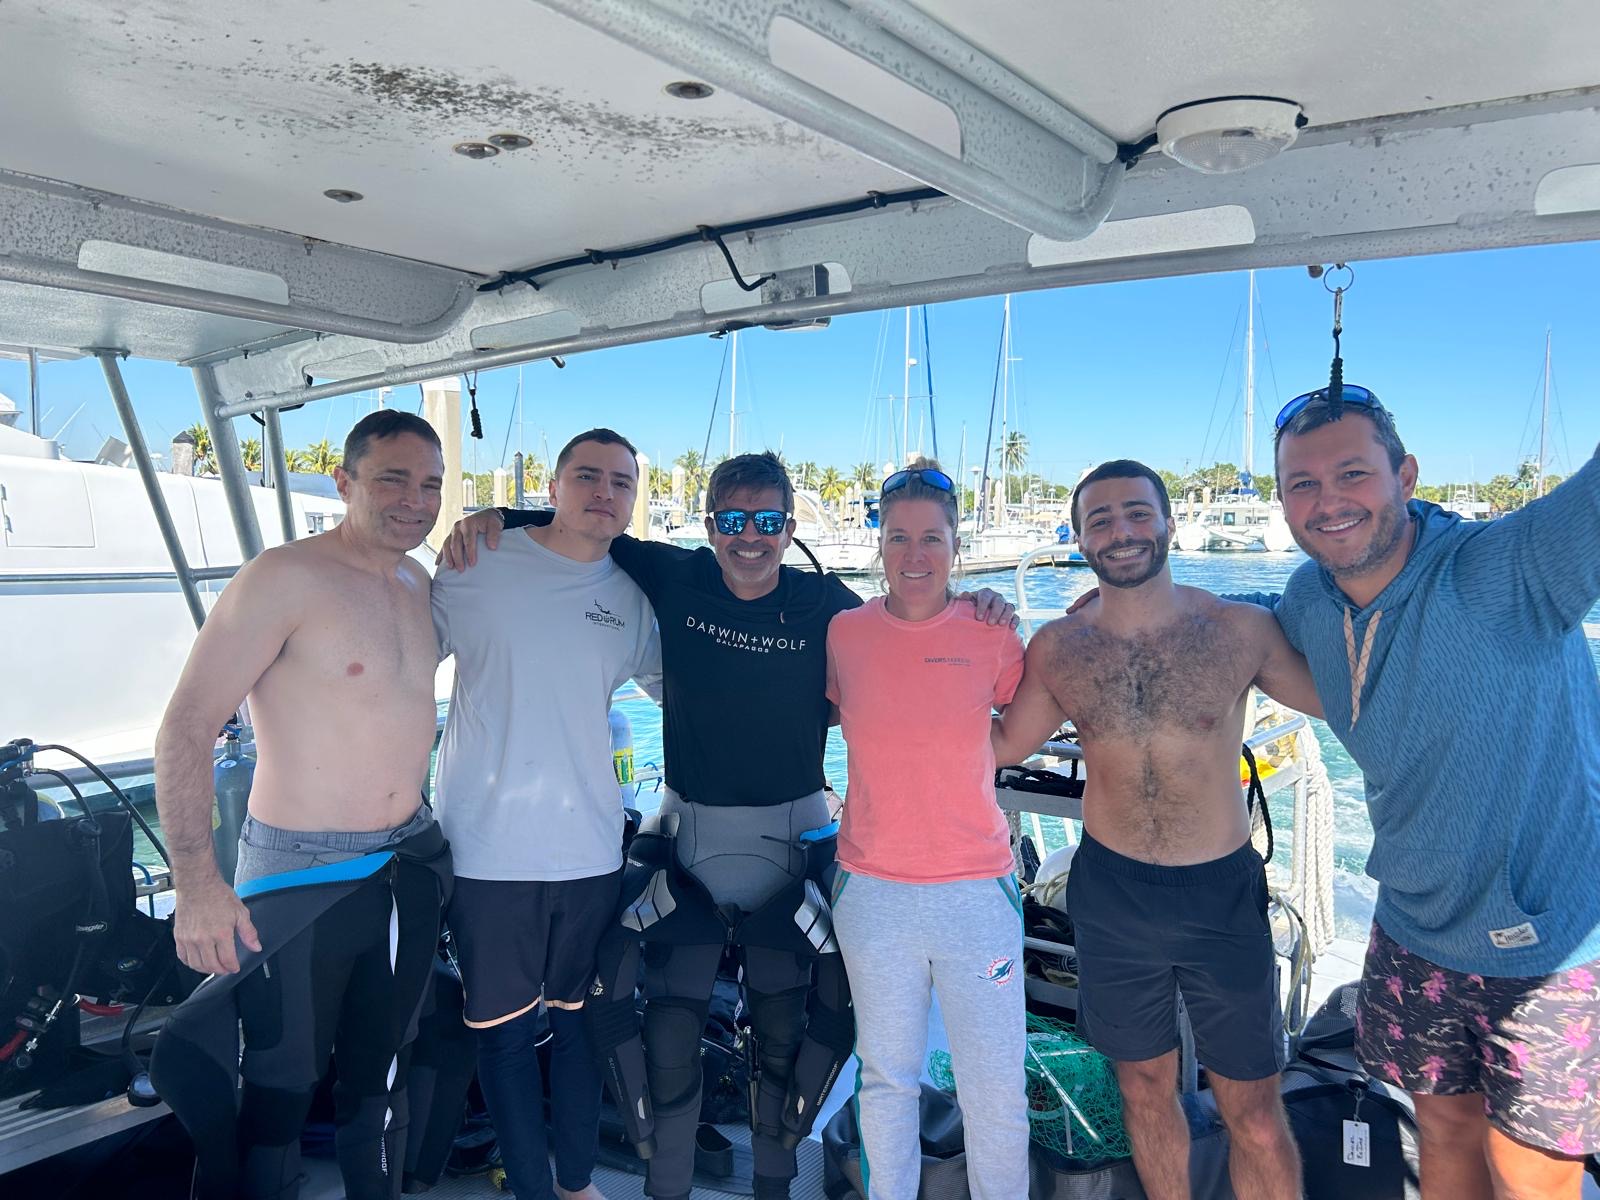
I'm Austin, a PADI Divemaster with over a decade of diving experience under my belt.
I created a free scuba diving community, where divers can connect, learn, and share their dives.
See you inside!
Join my Diving Community